
Free to Download
OE2.2 Microscope to Smartphone Adapter
Unlock the microscopic world! Download the free 3D-printable design and start capturing amazing images and videos through your microscope.

3D Print Setup
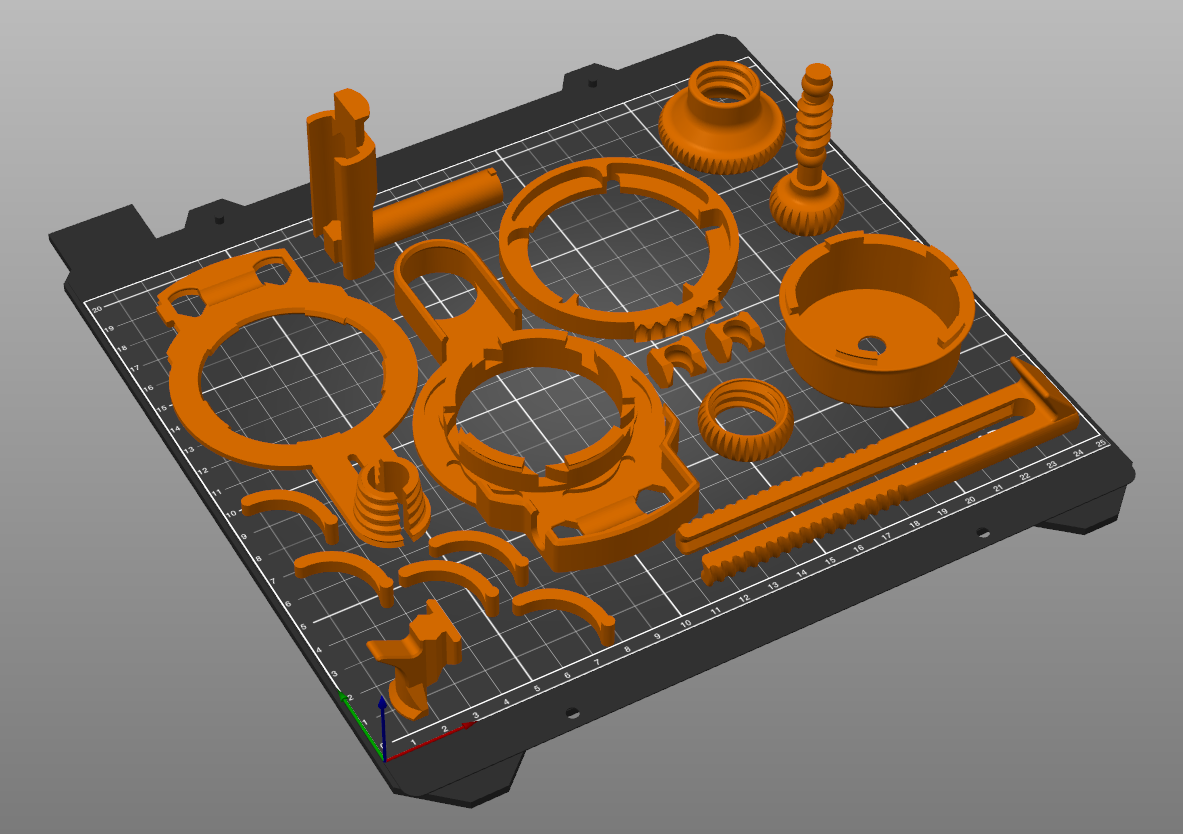
1. Once the print files have been downloaded, unzip the folder and import the .STL files onto your preferred slicer software.
2. Ensure each of the adapter parts are properly oriented as shown
3. The recommended general print settings are as follows:
- Material: PETG
- Infill: 100%
- Layer Height: .3 mm
- No Supports needed
4. Clean any stringing or other print debris from the completed prints.
* A heat gun can be used to clump the stringing and more easily remove.
OE2 Assembly Steps

1. (Optional) Apply a thin amount of silicon lubricant to the threaded area on the OC Cover, OC Clamp, and PC Clamp.
2. Clip the 2 hubs onto the drive shaft.


3. Place the OC Clamp into the OC Frame and ensure the OC Clamp gears are within the drive housing.

4. Press the OC Drive assembly into the OC Hub cutout in the OC Frame with the pointed area of the OC Hub inserted first, then press the back of the OC Hub into place.


5. Add the five OC Jaws into the clamp with the pins placed within the clamp slot.


7. Line up the OC Shield tabs with the OC Frame and evenly press the OC Shield until it snaps into place


6. Press the OC Cover onto the OC Frame until the OC Cover snaps in place and is flush with the OC Frame.


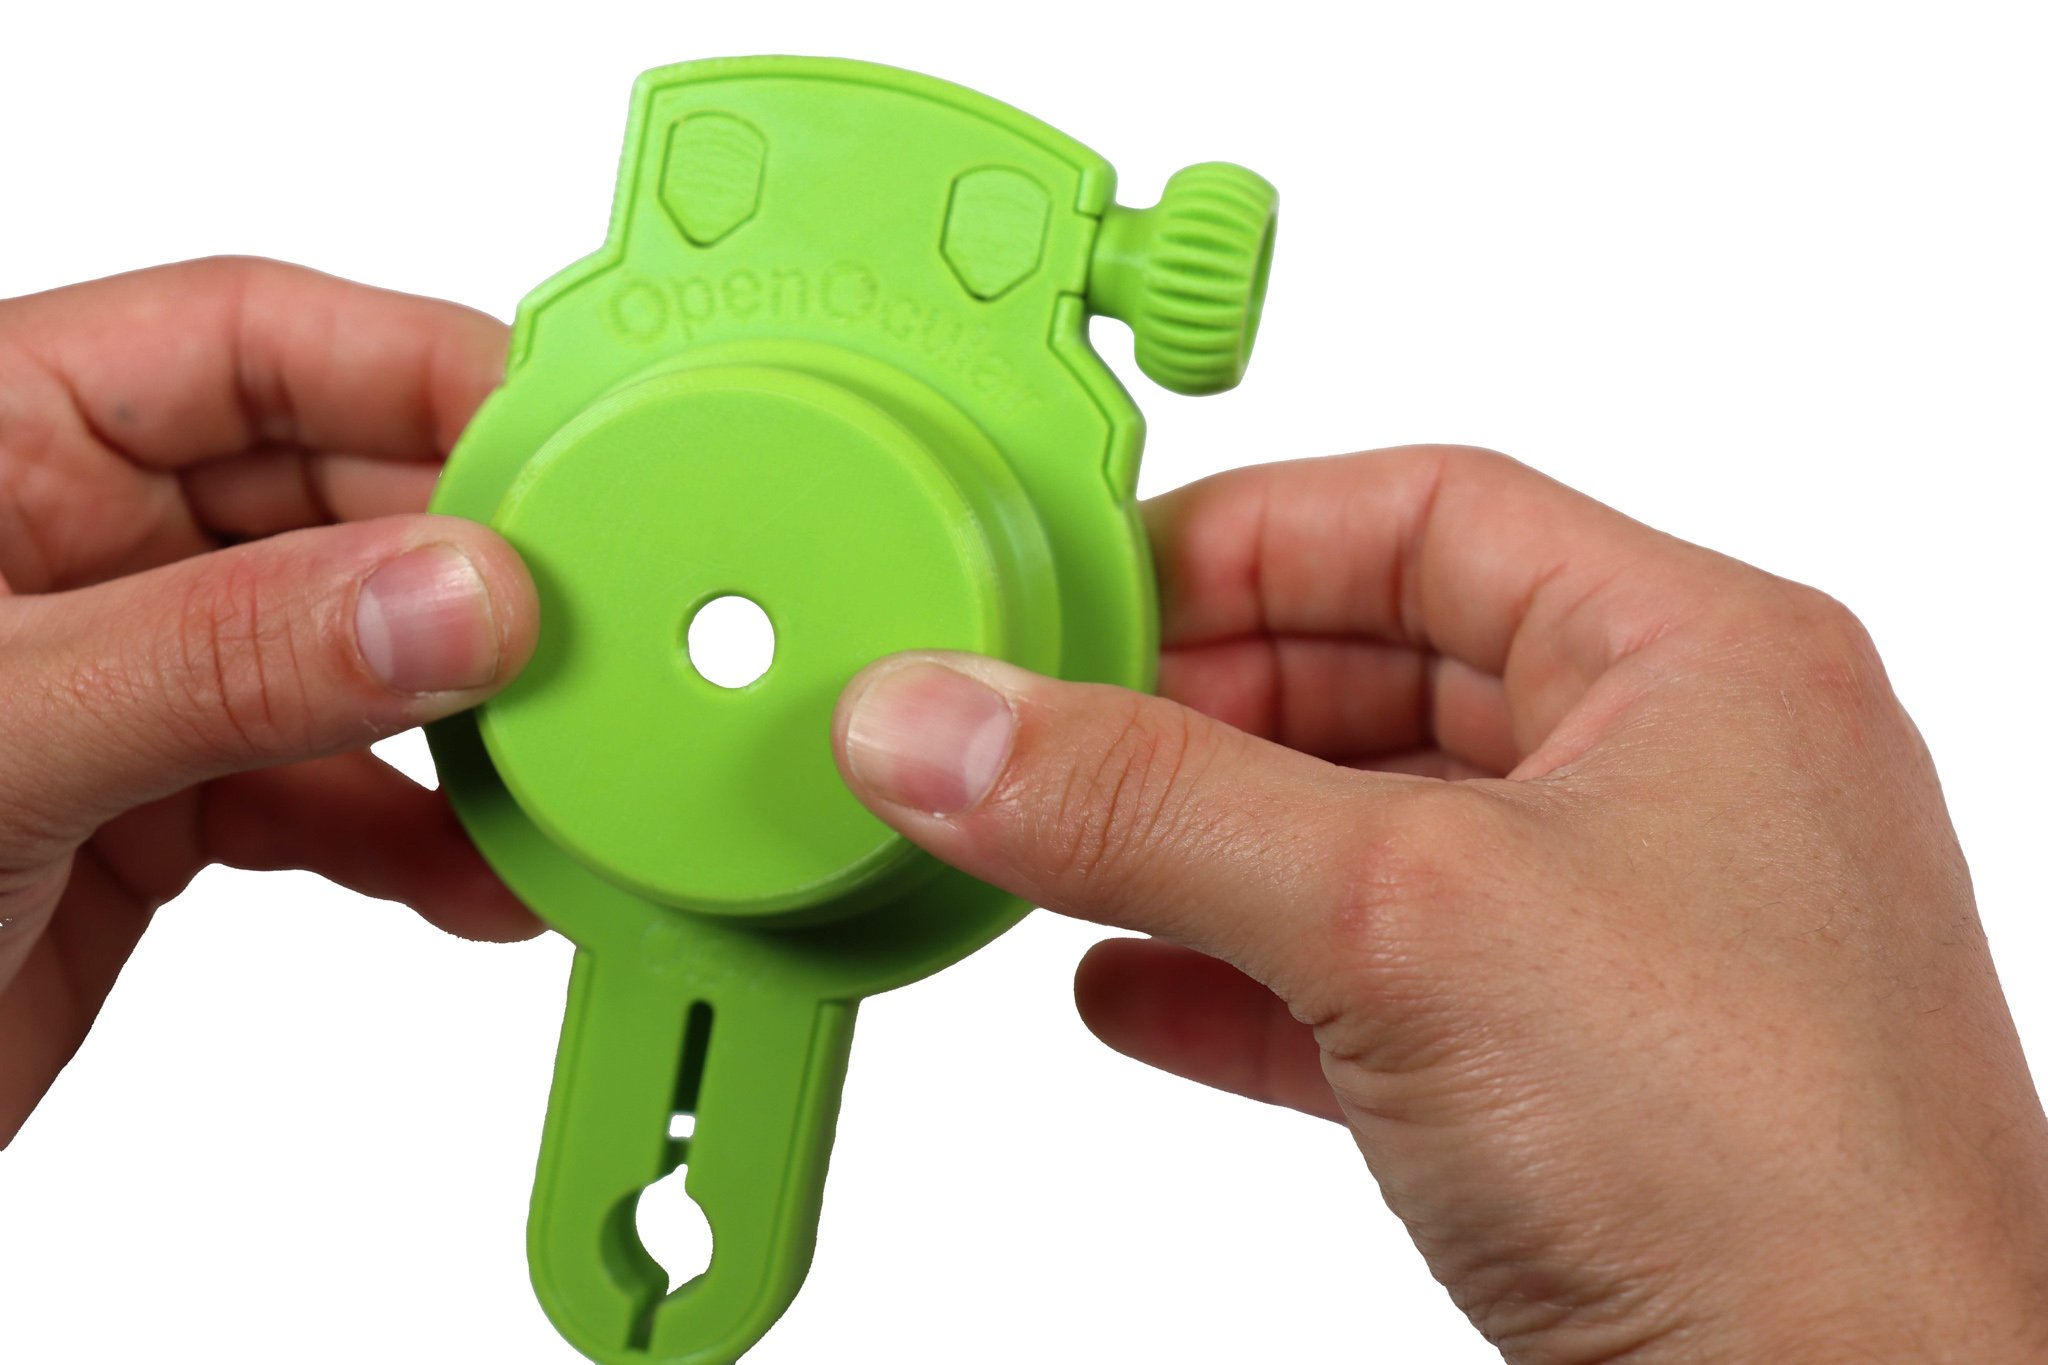
8. Place the PC Retainer into the recess of the PC Positioner and tilt the PC Retainer towards the matching tab on the PC Positioner.


9. Place the PC Thumbnut over both tabs with the PC Thumbnut's flat side towards the positioner body. Press the PC Retainer fully into the recess.


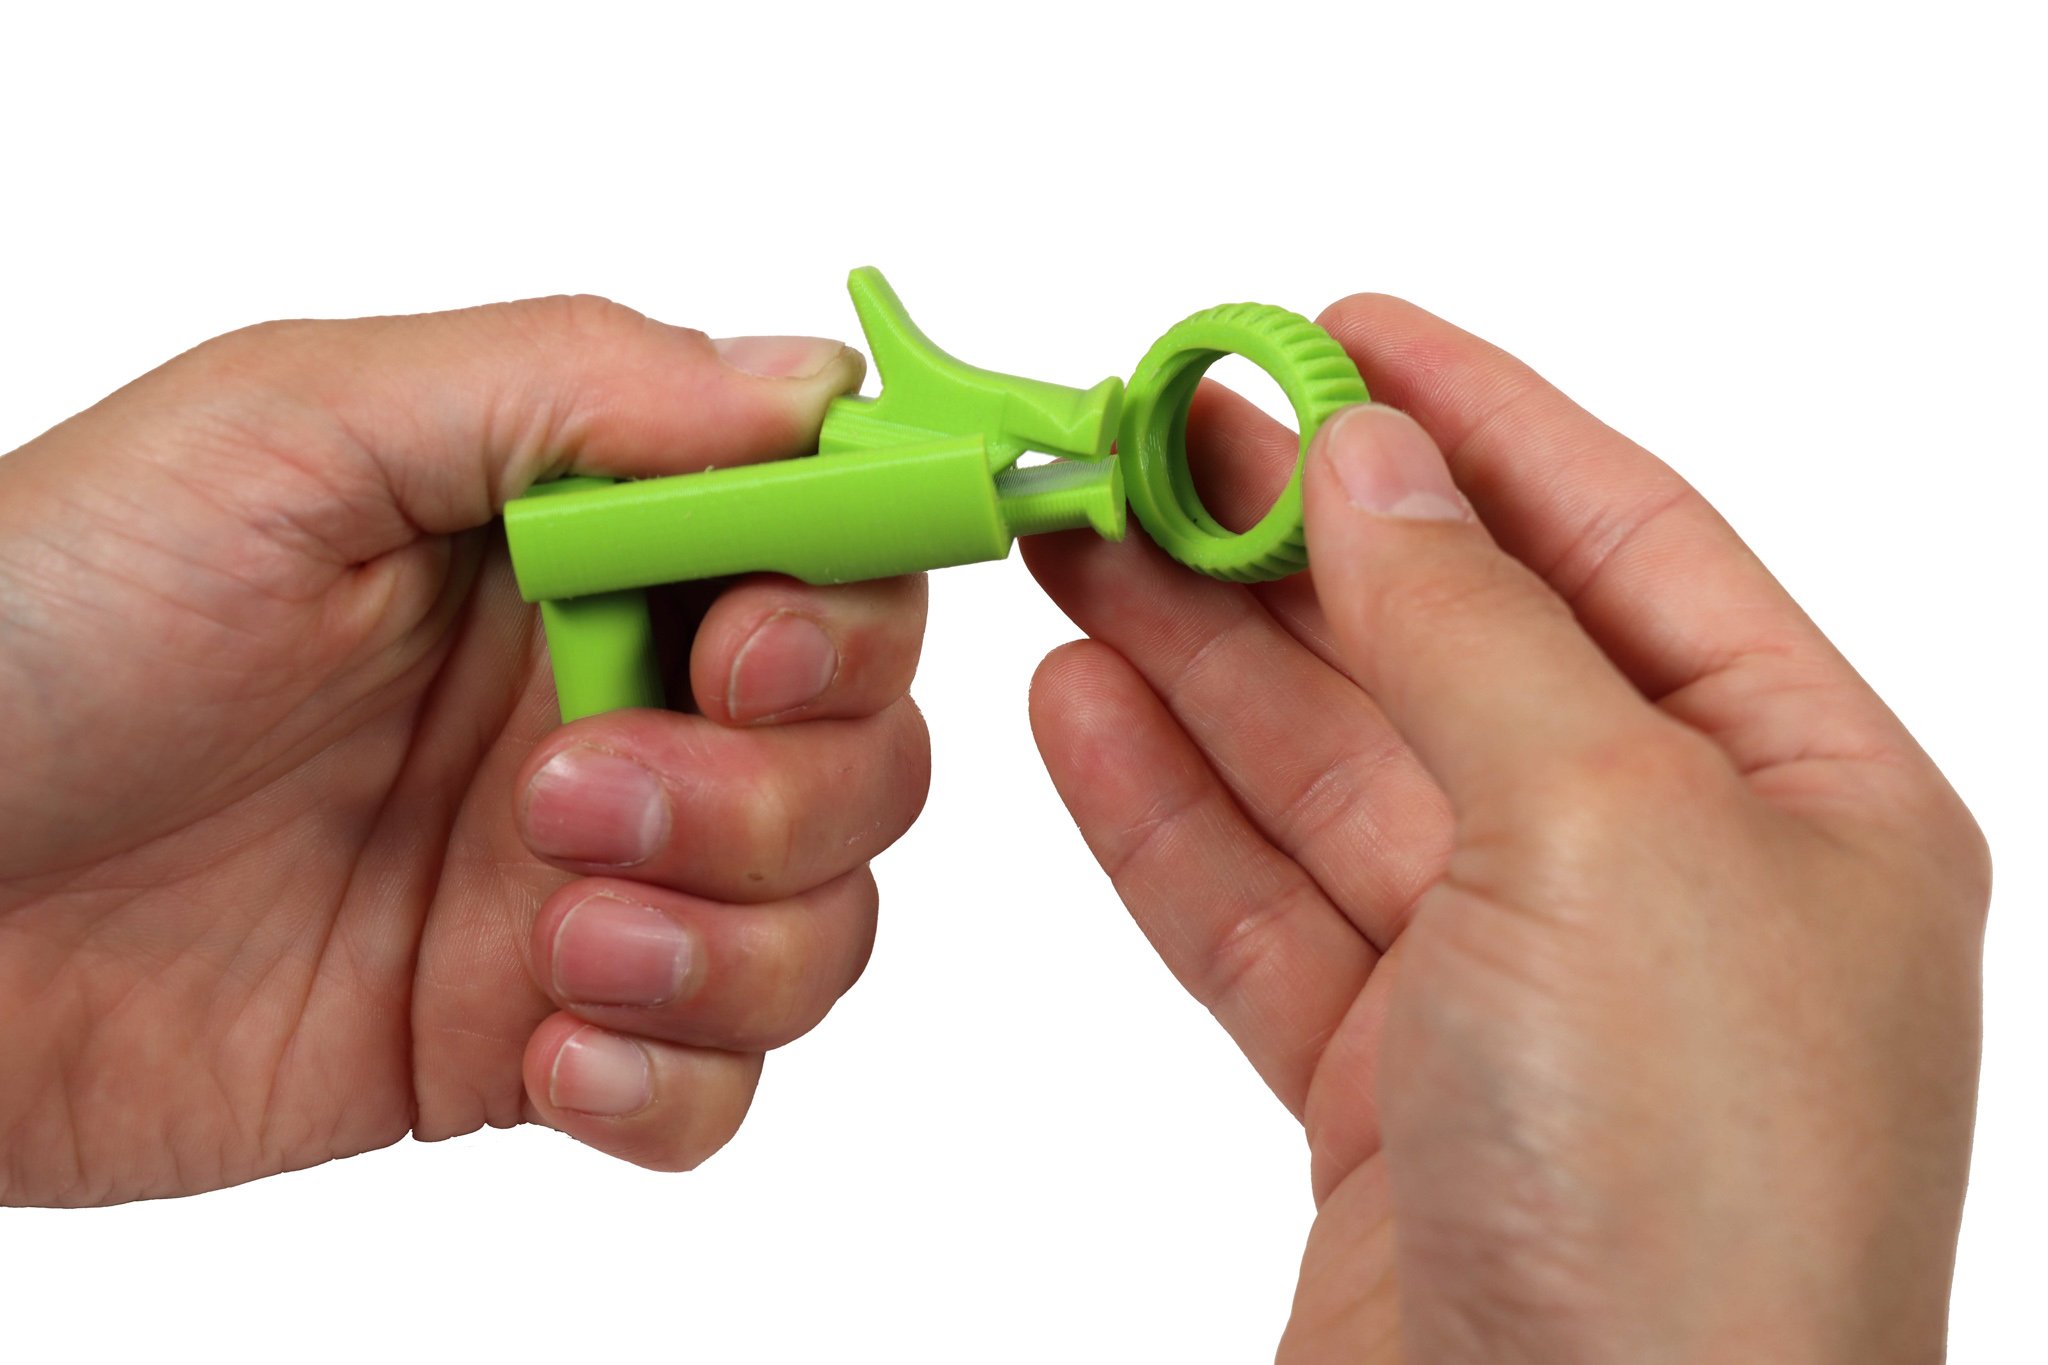
10. Insert the PC Clamp through the PC Positioner slot to the PC Thumbnut. Fasten the clamp with the PC Thumbnut.


11. Insert the PC Positioner shaft through the opening on the top side of the Ocular Clamp and thread the OC Thumbnut on the underside of the Ocular Clamp to fasten the Phone Clamp.


Let’s Connect
Need help with your adapter, have ideas, or just want to say hello? We’d love to hear from you.